Fixing Wall Tiles
Preparation For Fixing Wall Tiles
A clean, flat surface that is well prepared is often the most important part when it comes to fixing wall tiles and results in a much sleeker finish. See the following four options for choosing the perfect surface to tile onto.
Option 1 - Tile Backer Board
A tile backer board is an inert board suitable for fixing tiles in most domestic situations; make sure you follow the manufacturer’s installation instructions so they are adequately supported.
Option 2 - New Plaster
New plaster should be left for 4 weeks and be thoroughly dry and brushed down before tiling. Old plaster is suitable, provided it is sound. Check with the tile adhesive manufacturer whether or not the plaster requires priming before wall tiling can begin. The weight of tiling should not exceed 20 kg/m2. We can help advise you if your tiles are suitable.
Option 3 - Plasterboard
Plasterboard is a suitable surface for fixing wall tiles provided it is well supported with the board being a minimum of 12.5 mm. Fix the tiles directly on the paper facing, do not skim with finish plaster. The weight of tiling should not exceed 32 kg/m2.
Option 4 - Painted Surfaces
It is very important to make a detailed examination of the painted surface, as the permanent success of fixing wall tiles is dependent on good adhesion between the paint and the surface to which it has been applied and between any substrate and basic structure. Remove any old wall covering and flaking paint. Fill in old cracks and voids with a suitable filler. Ensure the surface to be tiled is smooth, clean and free from dust, dirt or grease.
Setting Out
Planning ahead is essential for a good result when it comes to fixing wall tiles.
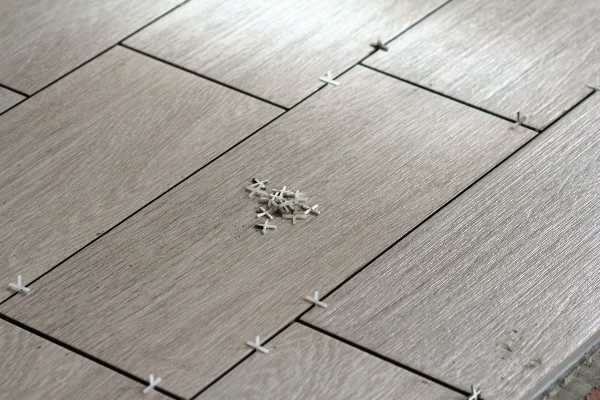
Firstly, take a long length of timber, mark the tile widths to help you identify where the tile will start and finish. Remember to leave space for the joints, which must be at least 2mm wide.
Set out horizontal position of the tiles so that the same size cuts are made either side of windows etc. Avoid small difficult cuts as they can spoil the appearance.
Plan each wall carefully, remembering that any patterns/designs will need to be matched in the corners of the room. For plain tiles each wall should be centralised avoiding any small cuts.
Once you have done these essential preparatory steps, you are ready to start fixing your wall tiles.
How To Fix Wall Tiles
1. Find the lowest point
Find the lowest point of the base you are working to (skirting, bath top, work surface etc.) with a spirit level.
Place a tile against the lowest point and draw a line on the wall along the top of the tile. N.B. The start point of the line will depend on the setting out of the tiles, as the tile against the floor may be a cut tile.
2. Fix the batten
Nail the batten along the wall to this line. Use the spirit level to ensure it is level. The first line of tiles will rest on this batten.
Draw a vertical (plumb) line at one end of the wall, one tile width away from the edge. Use this to check that the tiles are in line vertically.
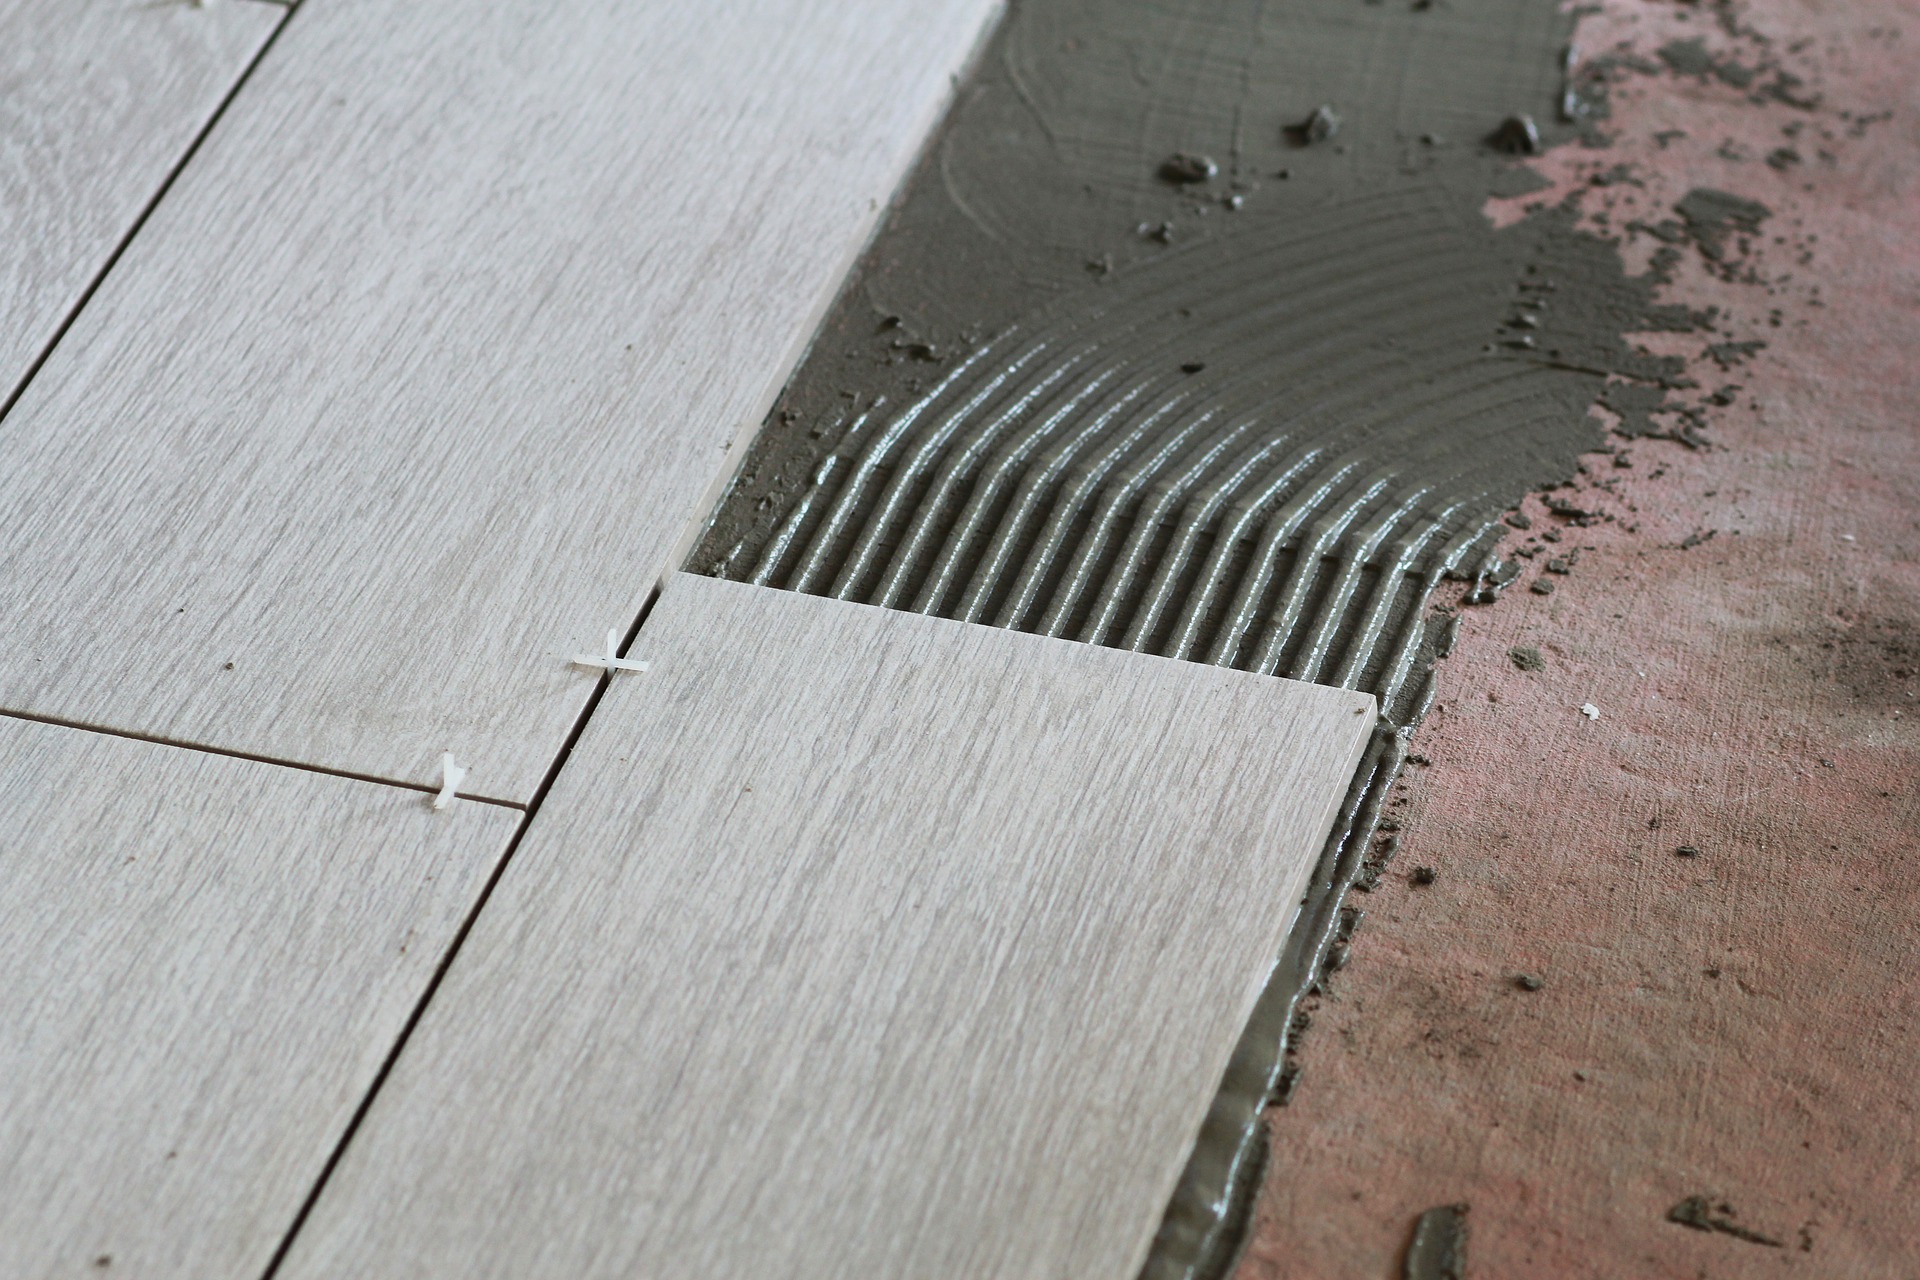
3. Spread the wall tile adhesive
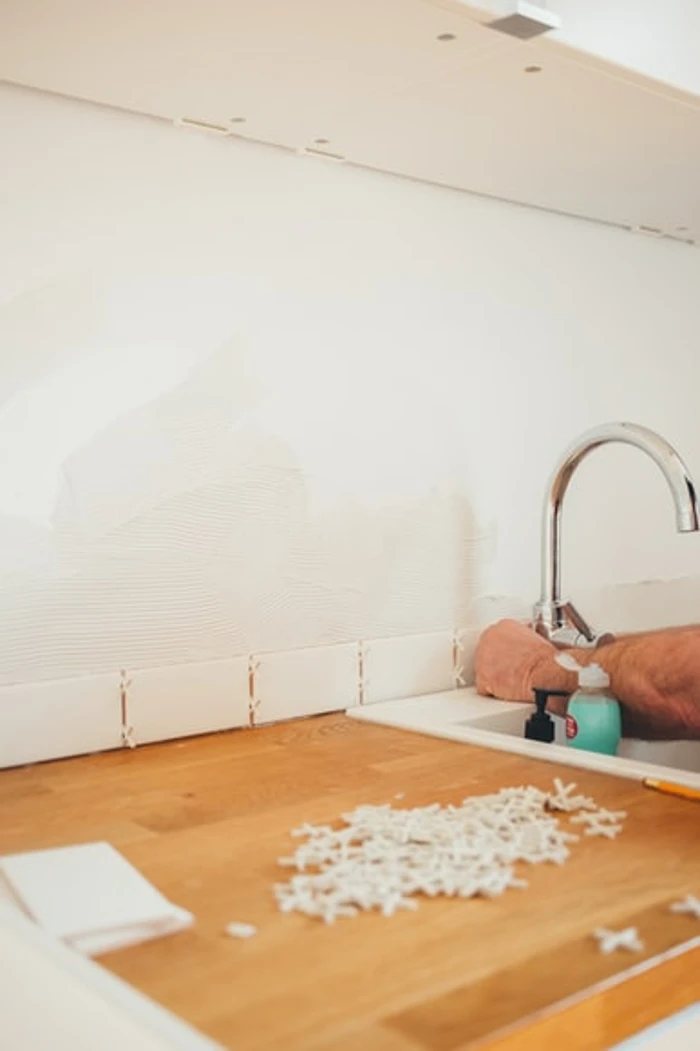
Spread the wall tile adhesive using a tile adhesive trowel onto the wall. Work in small areas a metre at a time, so that tiles are fixed before the surface of the adhesive forms a skin. Press and twist the wall tiles into the adhesive starting at the bottom and working upwards, one row of whole tiles at a time, using spacers (if required) to ensure a uniform joint.
4. Cut tile shapes
When tiles need to be cut, we can help advise you and explain the various cutters available. In awkward locations it is often easier to apply the adhesive onto the back of the tile instead of the wall.
5. Use tile templates where needed
For complicated shapes make a template and transfer the design to the tile. If the tile does not have a glazed edge, a neat finish on external edges and corners can be achieved with the use of tile fixing trim incorporated at the time of tiling. To prevent the seepage of water around baths, basins and plumbing equipment such as shower taps a plastic sealing strip or silicone sealant should be used.
6. Neat finish on external edges
If the tile does not have a glazed edge, a neat finish on external edges and corners can be achieved with the use of tile fixing trim incorporated at the time of tiling. To prevent the seepage of water around baths, basins and plumbing equipment such as shower taps a plastic sealing strip or silicone sealant should be used.
7. Do not begin grouting for at least 12 hours
Do not begin grouting for at least 12 hours after fixing wall tiles unless using rapid setting and hardening adhesives. There are many types of grout, so ask for advice on the correct grout for your application, especially when using highly glazed tiles. Force the grout into the joints using a grouting sponge.
8. Remove spacers and surplus grout
Do not use rigid spreaders at these can cause scratching to certain tile glazes. Remove surplus grout from the surface with a sponge. Polish with a dry cloth to ensure continuity in the finish is not compromised
Top Tiling Tip
Sponge lightly directed in the line of the joints with a very slightly moist sponge. This helps generate a smooth finish giving you that clean and professional finish. Try to keep the sponge clean from residue dirt and dust to ensure the grout colour stays true to its original state.