Tile Adhesives

Put simply, tile adhesive is used to stick your tiles to walls or floor. With such an important role to play, it’s vital that you choose the correct tile adhesive for your application.

At UK Tile Sales we stock and supply adhesive from the UK market leaders, namely BAL (Building Adhesives Ltd) and Ardex UK, so you can be assured that you’re using the highest quality adhesives to apply your new tiles.

There are many different types of adhesive available on the market and choosing the perfect tile adhesive can be confusing. We’ve put together the below tables to help you choose the right adhesive and grout for your tiling project.

How To Choose The Correct Tiling Adhesive?

Please Note: this table is intended as a guide only. As all conditions vary, it is most important that you seek advice so as to use the correct type which conforms to the British Standard BS EN 12004. Always follow the manufacturers’ instructions.

In the classification, ‘1’ means, standard properties and ‘2’ means improved properties. With dispersion-based adhesives, D2 confirms that the adhesive will be suitable in a damp location, e.g. domestic shower wall tiling. With cement-based adhesives C2 confirms that the adhesive will have enhanced adhesion making it suitable for fixing porcelain tiles.

Adhesives Classifications Area of Use Floor Tiling Wall Tiling
Cement-based C1 or C2 Wet or dry Yes Yes
Dispersion-based D1 or D2 Damp or dry See note 1 Yes
Epoxy-based R1 or R2 Wet or dry Yes Yes

Top tiling tip: Note that with dispersion-based adhesives at least one of the surfaces being adhered together should be porous and absorbent to ensure that the adhesive can dry out and develop adhesion. See the adhesive manufacturer’s product data sheet for adhesive coverage.

How To Use Tile Adhesives?

If you have never used tile adhesives before, it can be quite daunting. We’ve put together the below guide to use tile adhesives safely and effectively.

Please Note: The below is only a guide. Use normal or rapid setting adhesives conforming to BS EN 12004 and follow the manufacturers’ instructions.

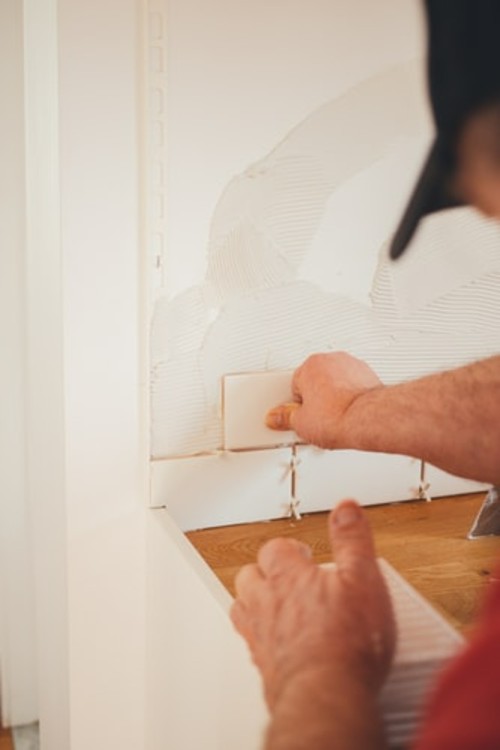
Mix the adhesive as per manufacturers’ instructions and spread with the recommended notched trowel to give a ribbed adhesive bed on the surface to be tiled. Butter the back of each tile with a thin layer of adhesive immediately before bedding it firmly into the fresh ribbed adhesive bed with a slight twisting motion to ensure a solid bed and prevent voids under the tile. Some “solid bedding” trowels and pourable adhesives are available that allow the floor tile to be solidly bedded without the need to butter the back of the tiles.

Remove surplus adhesive from the tile surface and joints with a damp sponge or cloth. Work in small areas of about 1 sq. metre at a time so that tiles are fixed whilst the surface of the ribbed bed is still wet and workable.

Every so often use a spirit level or straight edge to check that the tiles fixed are flat. Remove and adjust the amount of adhesive to achieve a flat surface, but don’t leave it too late or the adhesive will set. Leave adhesive to set before grouting (usually 24 hours unless using a rapid setting adhesive). In bathrooms, special attention should be paid to sealing the gap between wall and floor base using a flexible antibacterial sealant. A category C2 adhesive should be used when fixing fully vitrified tiles such as porcelain.

Orders placed after Thursday 21st December will be processed on Tuesday 2nd January 2024. 
20% off internal tiles with code JANUARY20
*20% off code is valid on all internal tiles. External tiles, grout, tools, accessories and clearance items are not included in the discount.