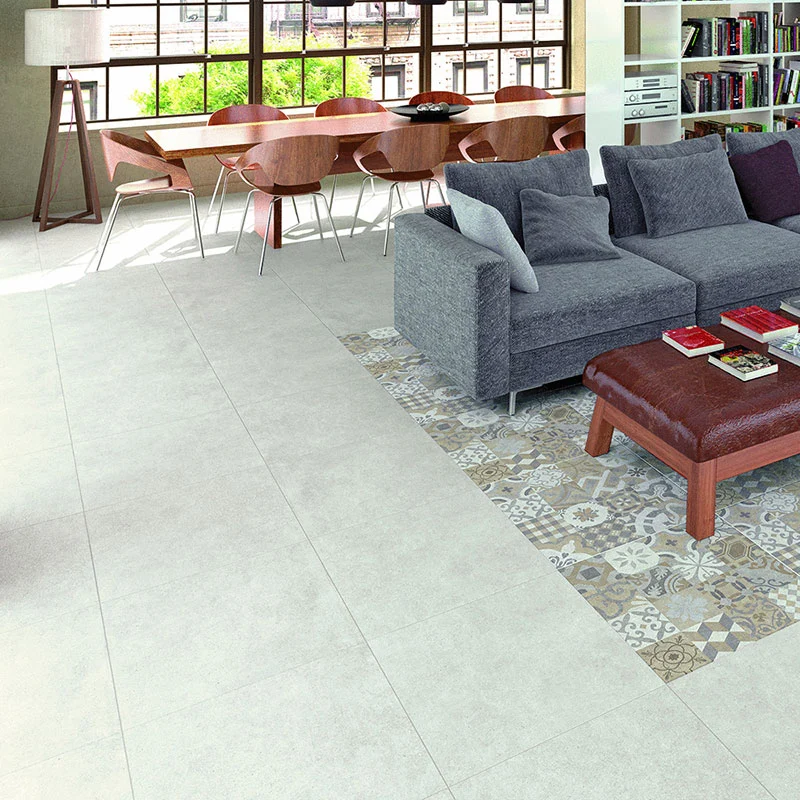
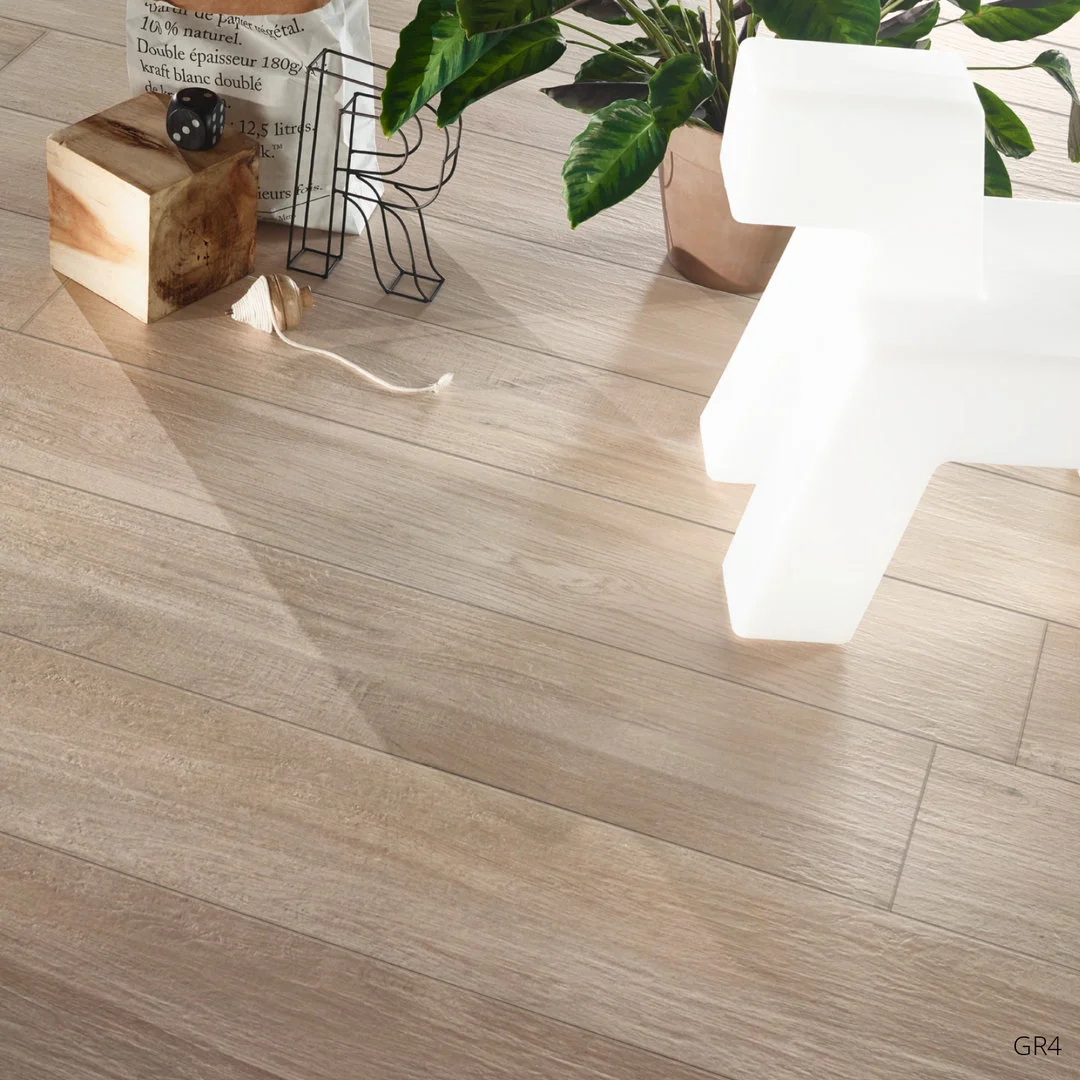
Fixing Floor Tiles
Preparation For Fixing Floor Tiles
As with fixing wall tiles, fixing floor tiles requires a perfectly flat surface. Time spend on proper preparation also makes fixing floor tiles easier, quicker and ensures a better finish.
Remove fixtures before tiling
Laying ceramic floor tiles will raise the level of the finished floor, so if possible, remove all fixtures before tiling.
Use a levelling compound
Check the overall flatness of the floor. A levelling compound can be used to improve flatness levels.
Make a central chalk line
Mark a chalk line on the floor down the centre of the room parallel to the most suitable wall (normally this is achieved by viewing the room from the doorway).
Tiling Onto Concrete
If you are fixing floor tiles on top of concrete there are certain rules it is wise to follow, such as:
- New concrete must be at least six weeks old and thoroughly dry before fixing floor tiles. In warm, well ventilated areas allow 1 day per mm up to 40 mm thickness i.e. 40 days, thicker substrates require 2 days per mm. Please contact us should these drying times not be practical, we may be able to advise on specialist adhesives which will allow tiling sooner.
- The surface must be smooth, flat and free from dirt and grease.
- Improve uneven surfaces with levelling compound.
Tiling Onto Wooden Floors
Existing wooden floors must be rigid, stable and capable of supporting additional load without flexing and have sufficient ventilation beneath them. There are three basic alternative methods to follow:
Option 1 – overlay floor with plywood
Overlay the existing timber with 15mm dry exterior grade plywood, which has been sealed at the edges and back. Fully screw down the plywood at 300mm intervals ensuring all junctions are supported by noggins or joists. Use a category C2 adhesive.
Option 2 – overlay with a proprietary decoupling membrane
Overlay the existing timber with a proprietary decoupling membrane e.g. Schluter matting and use a category C2 adhesive.
Option 3 - Overlay with a proprietary tile backer board
Overlay the existing timber with a proprietary tile backer board and install following the manufacturers’ instructions. Use a category C2 tile adhesive.
Top tiling tip: A CG2 grout is recommended with all of these methods. There are many factors to consider when deciding which method is best suited for your particular circumstances. It is important to seek professional advice.
Tilling Onto Hard Vinyl Tiles
Existing hard tiles must be free of grease, polish etc. and firmly adhered to the subfloor. The surface of the tile must be primed and allowed to dry before spreading the adhesive (Category C2).
Tiling onto existing quarries, glazed and unglazed tiles
Existing tiles must be clean, grease free and firmly adhered to the subfloor. Priming may be required and a Category C2 adhesive should be used. When tiling onto glazed tiles a polymer additive may be required.
Underfloor Heating
Underfloor heating is becoming increasingly popular thanks to luxurious yet cost effective way of taking the chill off your floor tiles.
Underfloor heating should be installed following the heating supplier’s instructions and connected by a Part P competent electrician. Tiles should then be fixed, using the solid bed method using a category C2 tile adhesive. Movement joints will be required around the perimeter of the floor, and where tiling lies alongside columns, curbs and steps. In large floor areas tiles should be divided by movement joints into bays not exceeding square metres in area.